director@yunismart.com
+86-13815034152
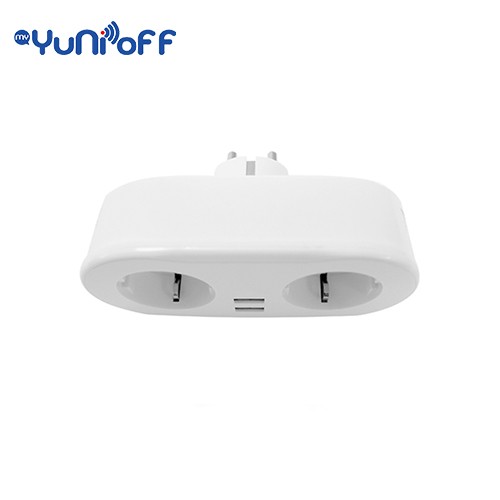
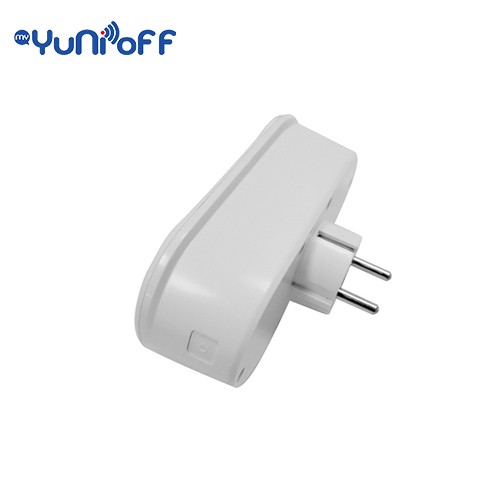
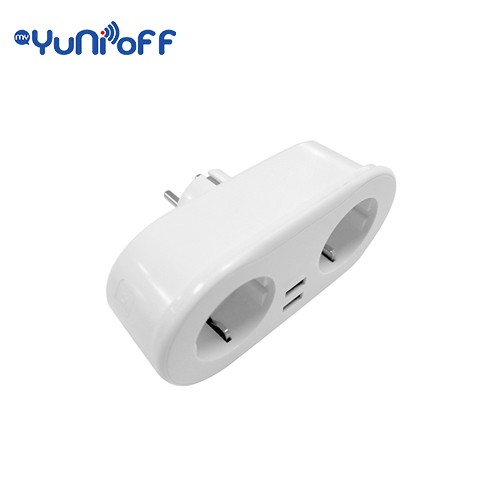
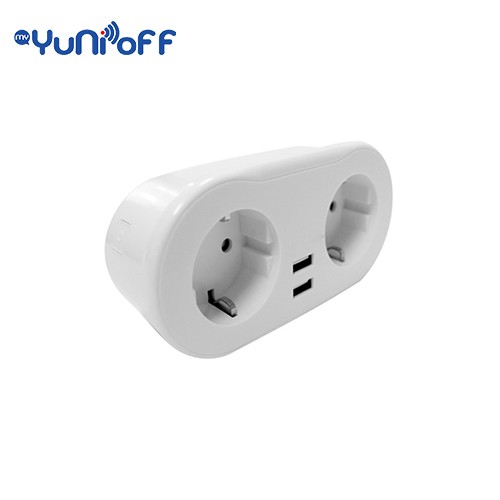
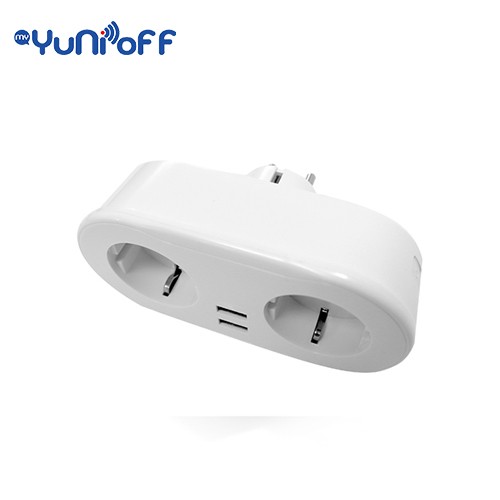
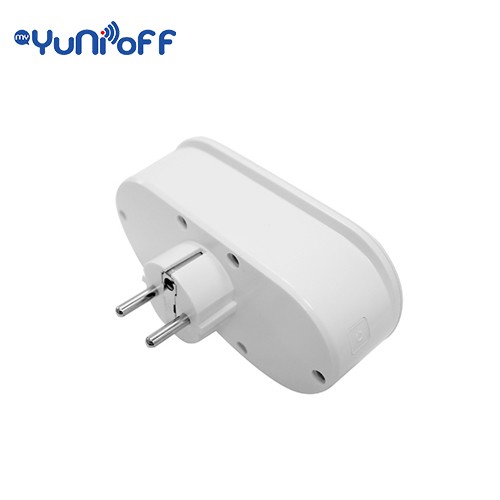
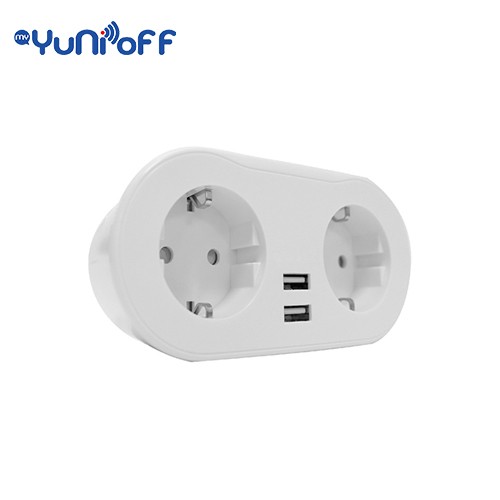
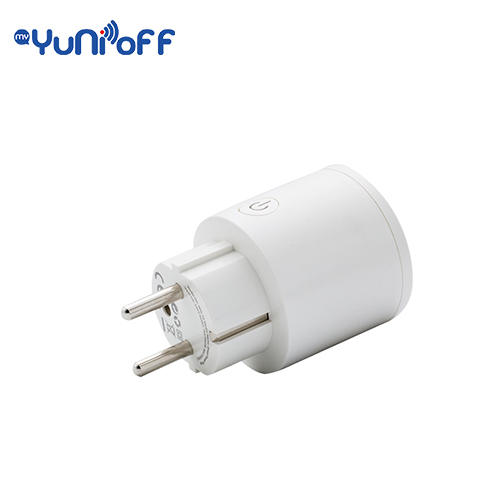
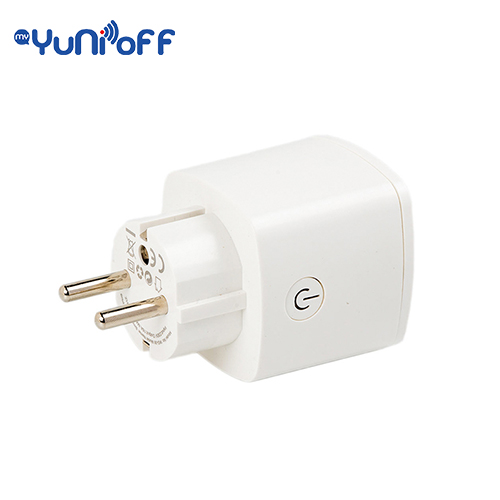
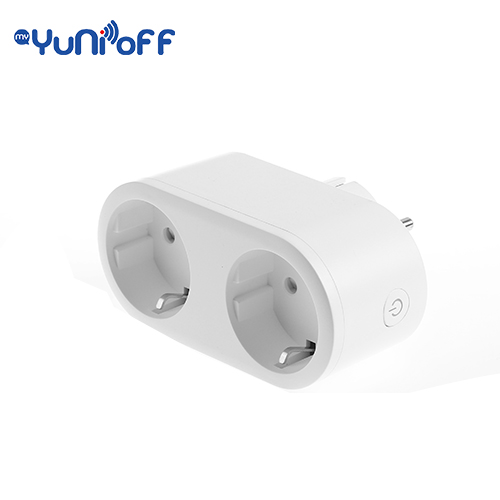
Smart EU WiFi Mini 2 Plugs With 2 USB
110-240V,50Hz/60Hz,10A
USB Output:5V 2.4A
Each USB Output:5V 2.4A
Product Size(mm):135*64*40
Package Size(mm):140*70*90
Product Weight(g):123
Package Weight(g):175
Certification:TUV
MOQ(pcs):1000

Product Description:
The Interesting Mini Wi-Fi Smart Plug uses your existing home Wi-Fi network to provide wireless control of your lights and appliances.No subscription or hub is required.WiFi 2 IN 1 Electrical Outlet empowers you to remotely control your appliances, whether directly with your Smart Life app (on your smart phone), or with Alexa /Google Home voice control set up at home.

Product Features:
Compact 2-in-1 Design:
Allows you to get 2 spaced outlets with one plug. Mini enough but there is a wide place between the two sockets, no interference and more space-saving.
Remote & Voice Control:
Compatible with Apple HomeKit (ios 13+), Apple Watch, Siri, Alexa, Google Assistant and Smart Things, remotely control your device on your smart phone with the Home app or just simply make a voice command to Siri/Alexa/Google from anywhere (Anywhere with internet access) at any time.
Schedules & Timer Setting:
Schedule the smart plugs or set auto-off timer routine to work automatically as needed, saving energy and money. Your data is securely transmitted and stored using Amazon AWS servers.
Easy Setup & Reliable Connection:
Simply download the App, power on and configuration then you can enjoy the convenience of our products.
Suitable for use in the Europe and other countries that use EU type plug.

User Guide
Safety information
IMPORTANT: Please read and comply with all of the instructions and warnings provided in this manual before using the product. Failure to comply with the instructions and warning provided herein may result in inaccurate results and/or damage to the product itself.
WARNING: DO NOT connect a device that exceeds the power ratings for this power socket. Doing so may overheat or cause possible damage to the device or other equipment.
DO NOT use the power socket if the cord is damaged in any way, shape, or form. Doing so may cause electric shock and possible injury. Extension cords can be used with this power socket ; check to make sure that the extension cord can handle the voltage of the power socket.
DO NOT use the power socket if it is damaged in any way, shape, or form.
DO NOT attempt to repair, disassemble or modify this device under any circumstances. Doing so may damage the device or cause electric shock and possible injury.
DO NOT place the power socket near any heat source or in direct sunlight.
DO NOT place or operate the power socket in high-humidity
environments.
DO NOT operate the power socket if there is a strange odor or heat emitting from the power socket or a connected device, contact customer support immediately.
DO NOT touch any electrical appliances with wet hands or handle appliances near liquids.Avoid using excessive force when handling the power socket.Keep the power socket dry and clean at all times.
DO NOT use any solvents or cleaning solutions on the power socket . Clean only with a soft, dry cloth.Never overload electrical circuits as it may cause an electrical shock or fire.

How to Connect WIFI?
Step1: Download&Registration
1.Scan the QC Code to download “ Smart Life” APP. Or Search“Smart Life”in Apple store or Google Play to install the APP.
2.Open the “ Smart Life” APP, tap “Register”to get an account with your phone number or E-mail.Sign in the APP.
Step2: Add Devices in Easy Mode(Recommend)
1.Make sure your Smart Socket is powered on
2.Make sure your mobile phone is connected to your Wi-Fi
3.Press the power button for more that 5seconds until the indicator begin to flash quickly (about 2timers/second),this means the device is already for configuration
4.Open your “ Smart Life” APP, tap “+” on the top right of the APP
5.Select Device Type, tap “ confirm indicator rapidly blink”. It will fetch the password of the Wi-Fi network your mobile phone connected.
6.Tap “Confirm” to connect to the device, when it appears “ successfully add 1device”, then the connection is completed and
your devices is listed in your APP list.
Add Devices in AP Mode ( If failed in Easy Mode,user could use AP mode )
1.Press the power button for more that 5seconds until the indicator begin to flash quickly, then press it for another 5seconds until the indicator flash slowly.
2.Tap “+” on the top right of the APP,Select Device Type
3.Tap “ AP Mode ” on the top right,“confirm indicator slowly blink”. It will fetch the password of the Wi-Fi network your mobile phone connected.
4.Tap “Confirm” and “connect now”to go to the WLAN setting interface in your mobile phone.
5.Select the Wi-Fi network named “ Smart Life_xxx” to connect it.
6.Return to the “ Smart Life” APP, the connection will start automatically
7.When it appears “ successfully add 1device”, then the connection is completed and your devices is listed in your APP list.
Step3: Control your Mini Smart Plug via smart life APP anytime and anywhere
(make sure your mobile phone and Mini Smart Plug are all connected to the network), More functions you will enjoy refer to the APP interface.
Step 4 : Share your devices with your friend or family after you add your devices successfully.
Quick Guide of Using Amazon Echo
Before using Amazon Echo to control your devices, make sure you meet the following conditions.
√ .Amazon Alexa APP and account
√ . An Echo device, including Echo, Echo Dot and Echo Tap
√ .Smart Plug
Sign in with Smart Life account, add the device, then change the name to a easily recognized word or phrase,like “ Bedroom Plug” “Plug1”etc.
Set up Echo with Amazon Alexa App
Sign in with Amazon account
Tap the Homepage on the top left, tap “Settings” and “Set up a new device”.
Select an Echo device, long press the dot button until the orange light shows up and tap “Continue”.
Select your Wi-Fi network and connect it to your device according to the instructions. This may take several minutes.
Enable the skills in Alexa APP ( Note: If a Smart Life account has been linked before,you can use it directly,or you can also tap “ Disable skills” to remove it)
Tap the Homepage on the top left, Select “Skills”
Search “Smart Life” and select“Smart Life”
Tap “ Enable Skills” to enable the Smart Life Skill, you will be redirected to the account link page
Type your Smart Life account and pass word , do not forget to select the country/region where your account belongs to.
Tap “Link Now” to link your Smart Life account
Leave the page when “Alexa has been successfully linked with Smart Life” shows up.
Control your smart device through Echo ( Echo need to discover your smart devices before the control)
You can say “ Alexa, discover devices” to Echo, or you can also Tap “ Discover devices” on APP to discover the smart devices.
Discovered devices will be shown in the list.(Note: Every time you change the name of devices on Smart Life App, Echo must re-discover devices before the control)
Now you can control your smart devices through Echo. You can use following commands to control them. (e.g., Plug1):
√. Alexa, turn on/off the Plug1
√. Alexa, turn on the plug after 5mins
Quick Guide of using Google Home
Sign in with Smart Life account, add the device, then change the name to a easily recognized word or phrase,like “ Bedroom Plug” “Plug1”etc.
Set up Google Home with Google Home APP
1. Make sure your Google Home is energized.
2. Open the Google Home app by tapping the app icon on your mobile device.
3. Tap "ACCEPT" to agree to the Terms of Service and Privacy Policy. Allow Google Home app to access the device location to discover and set up nearby devices.
4.Tap "SIGN IN", choose one Google account that you already logged in on your mobile device. Or follow the instructions to sign in with a new Google account.
5.The Google Home app scans nearby devices that are energized and are ready to set up. Tap "SET UP" to set up your Google Home.
6.When Google Home app is successfully connected to the Google Home device, tap "PLAY TEST SOUND", it will play a test sound to confirm you are connected to the right device.If you heard the test sound, tap "I HEARD IT".
7. Select the Room (ex Living Room) where your Google Home is located. This helps you identify the device when you want to cast to it. Choose the Wi-Fi network you want to connect to your Google Home. To automatically fetch the password for this network on this device, tap "OK", then the password will populate in the password field. You can also manually enter your password. Then tap"CONTINUE".
8. Google Home will now attempt to connect to the provided Wi-Fi network. When Google Home is successfully connected to your Wi-Fi network, tap "CONTINUE".
9. In order for the Google assistant to answer your questions and to enjoy a personalized experience,you must sign into your Google account, then tap "SIGN UP". Choose the Google account you want to link to your Google Home device, then tap "CONTINUE AS XXX". Enter the address where this Google Home is installed, and select your default music service.
10. Tap "SKIP TUTORIAL" to finish the setup. You can also tap CONTINUE` to watch the Google Home tutorial.
Link Smart Life account in Home Control
ATTENTION: Due to the Google Home app’s known bug, you could only use one Google account to control "Home Control Action". If you sign in Google Home app with several Google accounts.
Control your smart devices through Google Home
Now you can control your smart devices through Google Home. Take Smart Plug as the example, the supported voice commands are as below:
√. Ok Google, turn on/off the smart plug .
√. Ok Google, turn on the smart plug after 5mins
Contact: Jacktao
Phone: +86-13815034152
E-mail: director@yunismart.com
Whatsapp:13815034152
Add: No.143,Qingyangbei Road,Changzhou,Jiangsu,China
CopyRight 2020 Yunismart Home Manufacturer All Right Reserved POWERED BY YUKE Sitemap
![]()
We chat